Seed Audio 2.0: what changes for your next audio project?
Longer scenes, video input, more voice references, and separate tracks: these are the changes Dreamina describes for Seed Audio 2.0. Find out which would help your project, what to prepare, and what you can try in the workspace below.
Published input modes
T2A, TA2A, TV2A, and TAV2A
Dreamina's stated reference limit
Up to 6 audio references
Dreamina's stated duration limit
Up to 6 minutes
Available in this workspace
Seed Audio 1.0 · text, audio, or image
Prepare your Seed Audio 2.0 scene brief
Test a line, a voice direction, or a sound cue before building the full scene. Choose an original starter, edit the brief, and listen for the details you asked for.
Live model: Seed Audio 1.0. Short free previews are about 8 seconds. Video input, six-minute output, and separate stems are not available here.
Your first sound cue
Start with one moment you can judge by ear.
Load a short writing exercise
These starters replace the brief only. Review any voice or reference settings you already selected. A prompt's timing is a target, not a guaranteed cut point.
Voice, references & export
Choose a voice, add an audio or image reference, or adjust the output format. Open these controls when the brief needs more guidance.
Listen to the take
Check the spoken words, cue order, and background level before revising.
Seed Audio 1.0 listening example · 65 seconds. This radio-drama recording uses its own prompt, shown on the sample card. Use it to check pauses, room tone, and voice separation; it is not a result of your current scene brief.
Sign in to see your generation history.
Would a longer take or separate tracks actually help?
For a dialogue edit, write down what keeps forcing another take: a voice changing between shots, a line missing a cut, or music covering a word. These are different problems. A longer duration limit only helps when you need an uninterrupted scene; separate tracks matter when you want to adjust the mix without replacing the performance.
Before planning a video dub, prepare a locked picture edit, a speaker list, and the exact lines in playback order. For a podcast, start with the script and clean voice references. For a game, define one event and its ending so the sound can fit the interaction. Use these deliverables to evaluate the advertised 2.0 controls in your chosen provider.
Start with the material you already have
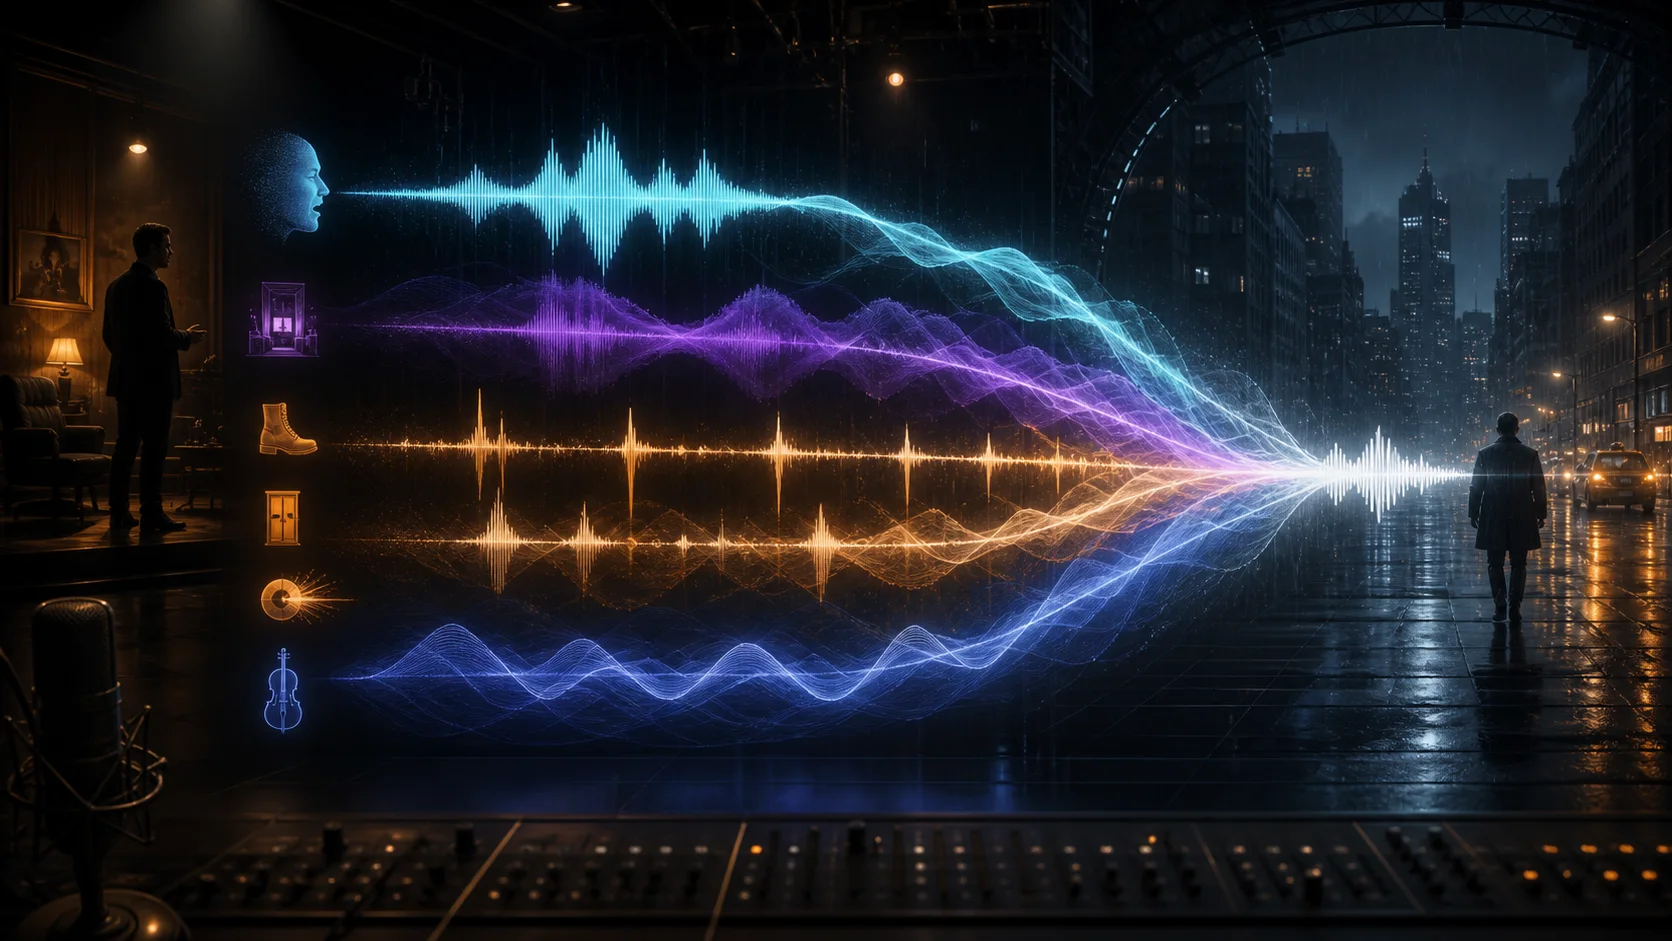
The four published mode names describe the inputs. Choose based on whether your project needs a voice identity, a visual timeline, or both. Video modes are described by Dreamina; they are not enabled in this site's workspace.
T2A · A script or scene idea
Text only. Use this starting point when you are casting fictional voices or testing a scene before any recording exists. Prepare exact lines, speaker descriptions, and the order of sound cues.
TA2A · A voice to carry forward
Text plus audio. Choose this when a speaker's identity matters. Prepare a clean, authorized recording with one speaker, then specify who uses that reference and how the delivery should change.
TV2A · A picture edit to follow
Text plus video. Consider this for sound tied to visible action. Prepare your final cut and a cue list. Uploading a still image in the current tool does not provide a moving timeline.
TAV2A · The cast and the cut
Text, audio, and video. Consider this when a dub must follow both a known voice and the edit. Keep speaker references labeled, identify on-screen actions, and check the destination provider's upload limits.
What 2.0 adds to the 1.0 starting point
This compares ByteDance's 1.0 announcement with Dreamina's description of 2.0. Published model capabilities can differ from the controls exposed by a particular website; the generator here still uses 1.0.
Give every line and sound cue a place
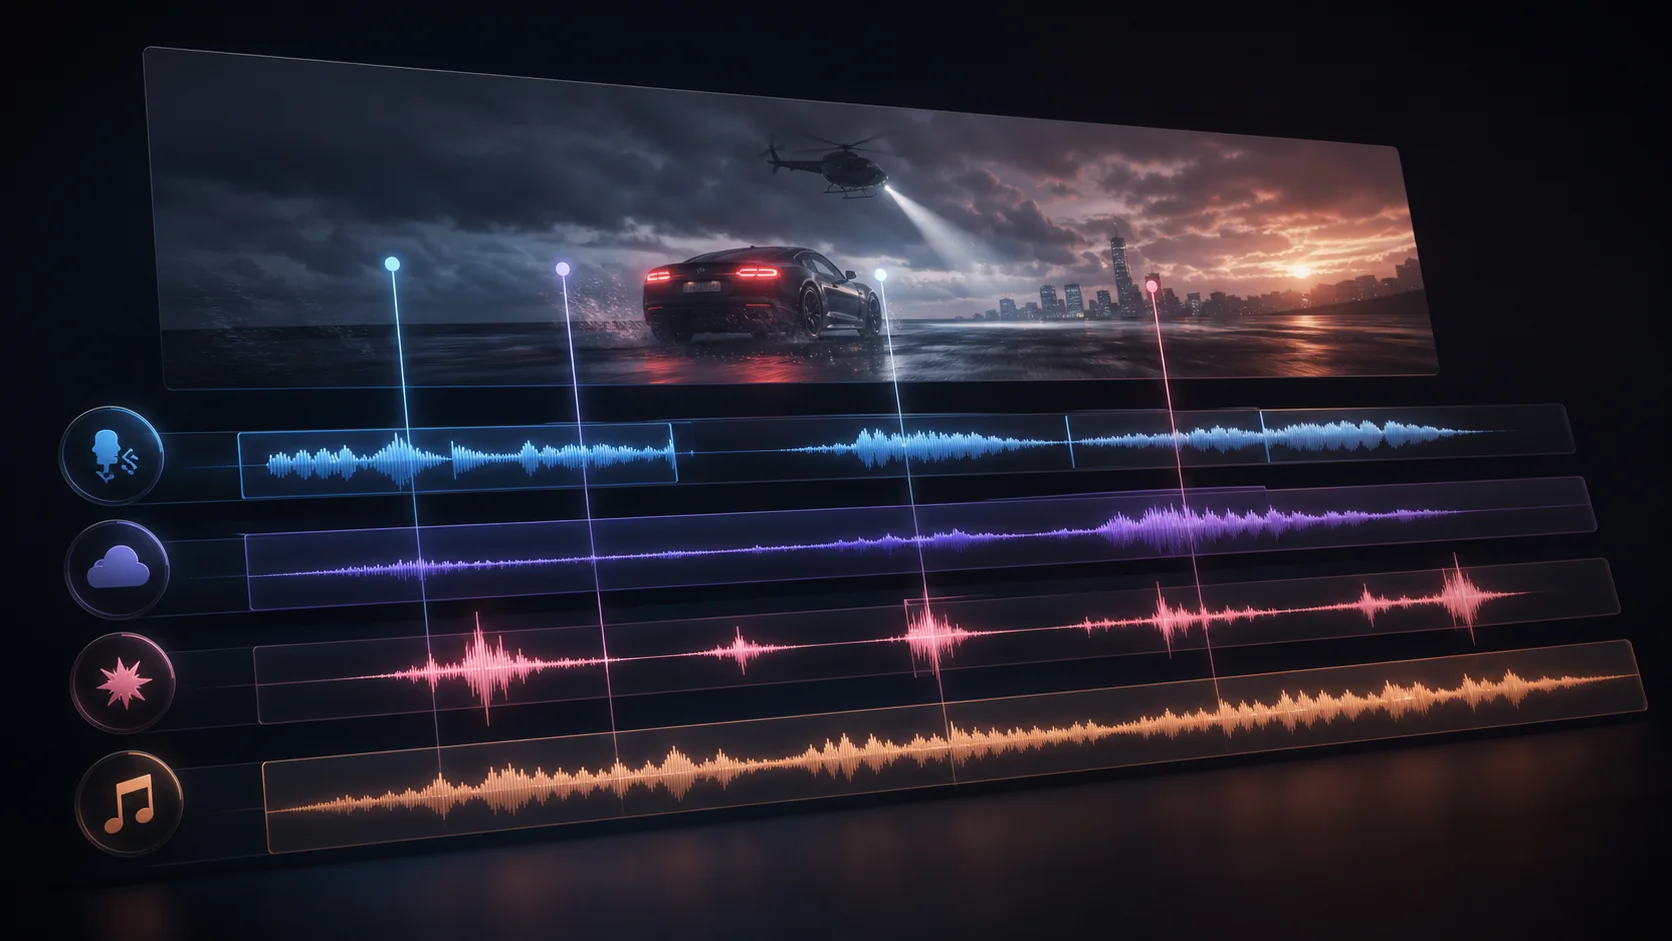
Try a short passage before committing to a full scene. The example below is an original writing exercise, not a measured 2.0 result. You can adapt the same brief to text-only generation now and add reference material when the chosen tool supports it.
Step 1
Write the lines you need to hear
Use speaker names and quote the actual dialogue. “Two people argue” leaves the script open; “Mara: We leave now. Theo: Not without the map.” gives you words to check against the result.
Step 2
Keep casting separate from acting
Describe each voice once, then attach emotion to individual lines. A low, quiet voice can still speak urgently. If you add a reference, use the same speaker mapping throughout the brief.
Step 3
Put cues in playback order
Describe the opening sound, first line, pause, interruption, and ending. If a bell must follow a sentence, say so. A list of sounds alone does not tell the model when each one belongs.
Step 4
Decide what counts as a usable take
Check the exact words first, then speaker separation, cue order, and background level. Save the brief alongside the result. Change one instruction on the next attempt so you can hear whether that edit helped.
Original brief · adapt to your available duration
A short English scene at a museum after closing. Mara has a low, steady voice; Theo has a lighter, hesitant voice. Begin with a quiet ventilation hum and two footsteps. Mara says, "We leave now." After a brief pause, Theo replies, "Not without the map." A single distant bell rings after Theo finishes. Keep both voices close and clear, with the room sound underneath. No music or extra dialogue. End with the hum fading out.
Fix one audible problem before adding another layer
Use the current workspace to test a small creative decision. These listening checks are practical editing guidance, not a benchmark of Seed Audio 2.0. They help make each retry purposeful.
Missing or rushed words: shorten the passage and remove secondary directions. Check the available duration; an eight-second preview cannot contain a long conversation. Add a longer script only when the account's generation allowance supports it.
Voices are hard to distinguish: give speakers stable names and distinct delivery descriptions. If using references, keep each clip focused on one voice and map it explicitly in the prompt. Check any selected preset voice before retrying.
Music or effects hide the speech: ask for a dry dialogue pass or remove the music cue. Keep only one background sound until the words are clear. A mixed audio file cannot be adjusted as separate stems in this workspace.
Access, limits, and the next step
Check the version and supported inputs before you upload assets or plan a production around a particular feature.
What is Seed Audio 2.0?
Seed Audio 2.0 is the audio model described on Dreamina's model page. The advertised changes include video-conditioned audio and more room for long scenes and references. This independent guide focuses on what those changes mean for preparing and reviewing an audio project.
Can I upload a video in this workspace?
No. This workspace accepts text, up to three audio inputs in total, or one JPG, PNG, or WebP image. Audio and image references cannot be combined. TV2A and TAV2A in the guide describe video workflows on the 2.0 product page, not upload options available here.
Should I wait for 2.0 to start my project?
You can draft the script, test voice direction, and establish cue order with the current tool. If the deliverable requires video conditioning or separate stems, verify those features in the provider you plan to use before scheduling the final generation. A 1.0 draft does not demonstrate 2.0 performance.
Why is my preview much shorter than six minutes?
The six-minute figure belongs to Dreamina's description of 2.0. This site's generator uses 1.0, with short free previews of about eight seconds and paid generations up to the current two-minute model limit. A duration request in your prompt does not override your account's allowance.
Is the generator on this page running Seed Audio 2.0?
The live workspace runs Seed Audio 1.0. You can use its original scene starters to test dialogue and sound direction, but it does not provide 2.0 video input or separate stems. The playable sample is also labeled as a 1.0 example.
Can I call Seed Audio 2.0 through this site's API?
The current public API uses Seed Audio 1.0. Changing the model name in a request does not enable 2.0. Use the API documentation for supported fields and check the actual model offered by your provider before building a video or multitrack workflow.
What should I check before publishing a voiced scene?
Use voice references and scripts you have permission to use, check the generation provider's terms, and review the result for unintended impersonation or copied material. Keep a record of permissions for supplied recordings. This guide does not grant a license to someone else's voice or content.
Where the capability descriptions come from
Reviewed September 13, 2026. The links below support the version comparison. The scene starters and listening checklist are our editorial guidance; the illustrations are concepts, not evidence of model output.
Dreamina / CapCut
Dreamina Seed Audio 2.0 model page
Product description for the four modes, six-minute output, six audio references, timestamps, and separate tracks.
ByteDance Seed
ByteDance Seed Audio 1.0 launch article
Official technical baseline for scene generation, reference voices, dialogue timing, two-minute output, and future development directions.